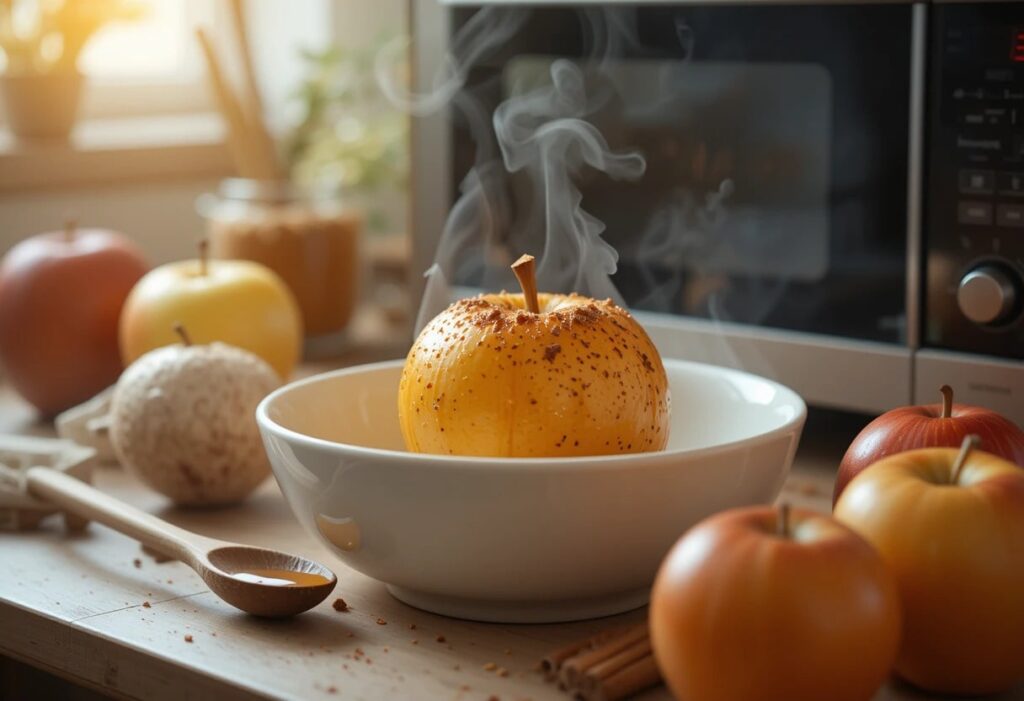
I never thought something so simple could become a regular part of my evenings. But ever since I started making apples baked in microwave, it became more than just a dessert — it became a comforting habit.
Growing up, my mother would make apple pie every Sunday. It was our family’s little tradition. But as I moved out for work and started living on my own, baking a full pie became too much. No time, no oven, no ingredients — but I still craved that warm apple-cinnamon taste.
Then one day, out of curiosity, I tried baking apples in the microwave. And to my surprise, it worked — really well. Now, I do it at least 3 times a week. Let me share with you how it’s done, why it’s worth it, and a few personal tips along the way.
Why Choose Apples Baked in Microwave?
Choosing apples baked in the microwave is a smart and simple option for anyone craving a quick, healthy dessert. It takes only 10 to 15 minutes from start to finish, making it perfect for busy people like students or those living in small apartments without an oven.
This method avoids heavy crusts or deep frying, keeping it light and guilt-free. What I love most is how customizable it is—whether I want something sweet, tart, or spiced, it always works. It truly satisfies my cravings while saving both time and effort. Plus, it fills the kitchen with a cozy aroma, feels comforting, and makes portion control easy.
How It Tastes – My Honest Experience?
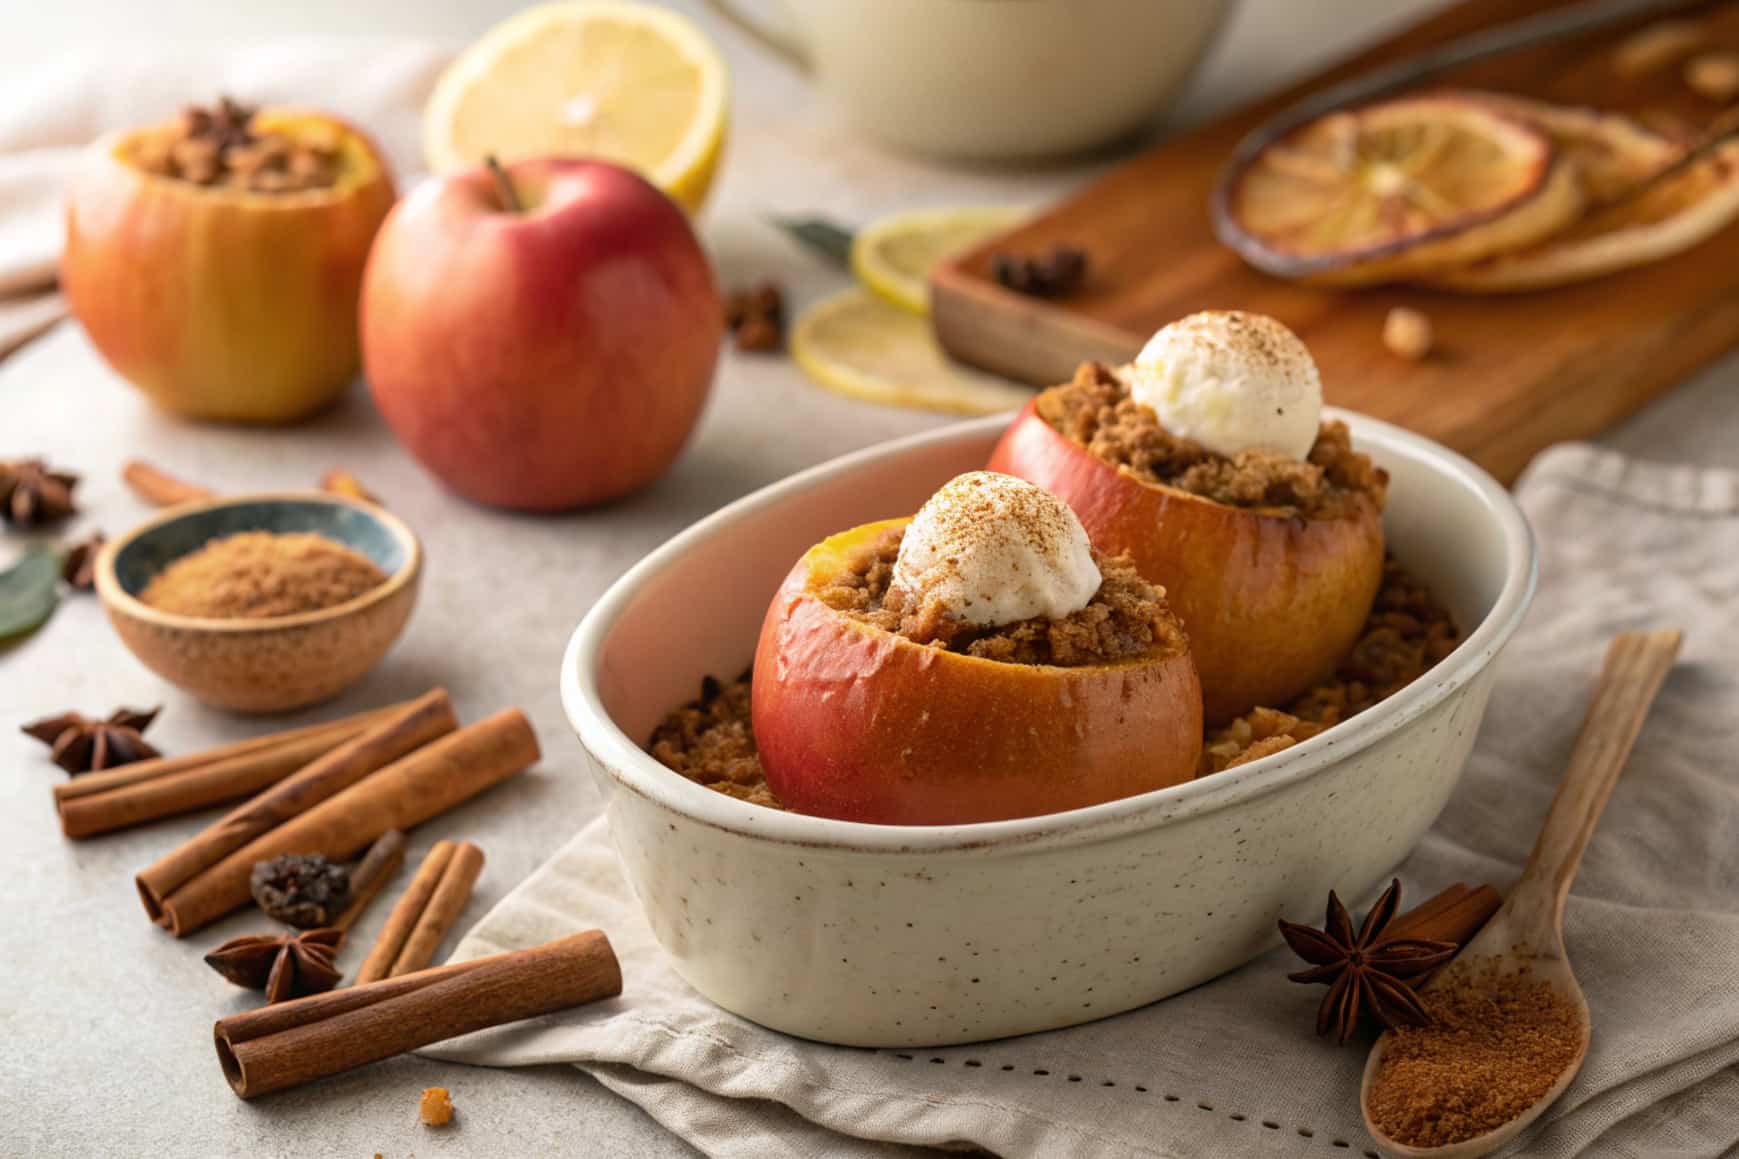
The first time I tried this, I was surprised. The apples were tender, sweet, warm, and smelled like a mini apple pie. It was like a hug in a bowl. No crust, no flour — just fruit and spice.
Now, after many attempts, I’ve found small ways to improve the flavor. Some days I add raisins, chopped almonds, or granola. On weekends, I top it with a scoop of vanilla ice cream.
The warm, creamy texture of the ice cream paired with the spiced apples is absolutely divine.
This dessert has become my comfort food. After a long day, especially in cold weather, it’s the easiest way to treat myself. It’s quick, comforting, and reminds me of home — a perfect end to any day.
Ingredients I Use (and You Can Too):
- Best Apples to Use: I usually go with 1 or 2 apples like Fuji, Gala, or Honeycrisp. These apple types stay firm and flavorful even after microwaving. They don’t turn mushy, and their natural sweetness works great for quick desserts without needing extra effort.
- Natural Sweeteners: For sweetness, I use 1 tablespoon of brown sugar or honey. Brown sugar adds a rich, caramel-like flavor, while honey gives a softer sweetness. Both pair nicely with apples and bring out their taste without overpowering the natural fruit flavor.
- Warm Spice Flavor: A small pinch of cinnamon makes a big difference. It adds warmth and a homely touch to the apples. The spice gives off a cozy aroma that fills the kitchen and makes this simple dessert feel special and comforting every time.
- Optional Richness: Adding a small drop of butter is totally optional, but I highly recommend it. It melts beautifully over the hot apples, making them taste richer and smoother. That little bit of butter takes the texture and flavor up a notch for sure.
- Freshness Booster: A few drops of lemon juice and about a tablespoon of water really help. Lemon balances the sweetness and prevents the apples from turning brown. Water keeps them soft and juicy during microwaving, making the end result tastier and perfectly moist.
My Step-by-Step Method for Microwave Baked Apples:
Peel and Slice the Apples:
I usually peel the apples for a soft texture, but leaving the skin on adds fiber and a nice chew. I slice them thinly to ensure quick, even cooking. Thick slices often stay hard in the center, ruining the soft warmth I enjoy in this dessert. Thin slices give that perfect melt-in-your-mouth feel.
Mix with Sugar and Cinnamon:
Once sliced, I place the apples in a microwave-safe bowl and sprinkle them with brown sugar and cinnamon. Cinnamon is a must for me — it adds warmth and a comforting smell. It reminds me of childhood treats. Brown sugar brings out the natural apple sweetness. The mix instantly smells like a cozy fall evening.
Add Butter and Lemon Juice:
Adding a small bit of butter makes the apples rich and smooth. A few drops of lemon juice brighten the flavor and stop the apples from turning brown. These two ingredients may seem small, but they change everything. Together, they bring a beautiful balance of sweet and tart, and make the dessert taste complete.
Microwave Covered (But Vent It!):
I cover the bowl with a microwave-safe plate or plastic wrap poked with holes. Then, I microwave on high — 3 minutes for one apple, 4 to 5 minutes for two. Every microwave heats differently, so I check halfway through. Cooking covered helps steam the apples gently without drying them out or overcooking.
Let It Sit and Thicken:
After microwaving, I let the apples rest for one or two minutes. This helps the juices settle and become syrupy. The flavor deepens during this short pause. I sometimes drizzle a bit of honey or maple syrup on top. This final touch makes the apples glossy, sweet, and perfect — just like a quick apple pie.
Also read: 2 Ears Of Corn In Microwave – The Secret To Tender, Sweet Corn In Minutes!
Health Benefits of Microwave-Baked Apples:
- Digestive Health Boost – The natural fiber in apples promotes healthy digestion and prevents constipation. Microwave cooking softens the fiber, making it easier to digest while still keeping you full longer and supporting gut health.
- Low-Calorie Sweet Treat – With only about 95 calories per medium apple, this dessert satisfies sugar cravings without excess calories. Skip heavy crusts—just apples, cinnamon, and a touch of sweetener for a light yet indulgent snack.
- Immunity-Building Antioxidants – Apples contain quercetin and vitamin C, which fight inflammation and strengthen immunity. Microwaving preserves more nutrients than prolonged baking, keeping these health-boosting compounds intact for better wellness support.
- Heart-Healthy Choice – Soluble fiber in apples helps lower cholesterol, while potassium regulates blood pressure. Since microwaving requires no added butter or oil, it’s a heart-friendly alternative to traditional baked desserts laden with saturated fats.
- Blood Sugar Friendly – The fiber slows glucose absorption, preventing spikes. Use minimal sugar or opt for cinnamon (shown to improve insulin sensitivity) to make this a diabetic-friendly dessert that’s both safe and satisfying.
Common Mistakes to Avoid:
Overcooking the Apples:
Microwaving apples beyond 3-5 minutes breaks down their cell structure completely, resulting in a mushy, unappetizing texture. The key is to cook in 1-minute intervals after the initial 3 minutes, testing with a fork each time until they reach your preferred tenderness – soft but still holding their shape slightly for the perfect consistency.
Cutting Uneven Slices:
When apple slices vary dramatically in thickness (from paper-thin to 1-inch chunks), they’ll cook at wildly different rates. For uniform results, use a sharp knife or mandoline to create consistent ½-inch thick slices. This ensures all pieces become tender simultaneously without some turning to mush while others remain crunchy and undercooked in the same batch.
Skipping Acidic Treatment:
Apples oxidize quickly when cut, turning an unappealing brown. A quick toss with 1 teaspoon of lemon juice or apple cider vinegar per 2 apples prevents discoloration while adding a subtle brightness that enhances the natural flavor. The acid also helps maintain some structural integrity during cooking for better texture in the finished dish.
Using Improper Containers:
Not all bowls are microwave-safe – some plastics can melt or leach chemicals, while metals cause dangerous arcing. Always use heatproof glass or ceramic dishes labeled microwave-safe. These materials distribute heat evenly and withstand high temperatures without affecting the apples’ flavor or potentially releasing harmful substances into your food during the cooking process.
Failing to Vent Steam:
Completely sealing the container creates a steam bath that makes apples watery and bland. Instead, cover loosely with a microwave-safe lid left slightly ajar or use plastic wrap with several fork holes poked in it. This allows just enough steam to escape while still cooking the apples efficiently for perfect texture and concentrated flavor.
Also read: Aluminum Paper In Microwave – Avoid These Dangerous Mistakes!
Microwave vs. Oven: Which Will I Choose in the Future?
In the future, I will likely choose the microwave for quick, easy snacks or desserts. It will take only about 5 minutes, and the apples will be soft and moist with very low energy usage. However, when I’ll have guests or want to make a larger batch, I will opt for the oven. It will take 30–40 minutes to bake the apples, resulting in a roasted, sometimes crispy texture.
Though it will use more energy, it will be perfect for a bigger, more satisfying treat. The aroma of oven-baked apples will fill the house, creating a warm, inviting atmosphere. I will also have more control over the caramelization, making the apples even more delicious. Whether I’m in a hurry or looking to impress guests, I’ll know exactly which method to use.
FAQS:
1. Can I use any type of apple for microwave baked apples?
Yes, most apples work well for this recipe. Tart apples like Granny Smith or Fuji are ideal because they soften well and hold their shape. For a sweeter result, try using Gala or Honeycrisp apples. Experiment with different varieties to find the best flavor for your taste.
2. Do I need to peel the apples before microwaving?
Peeling apples is optional and depends on your texture preference. If you prefer a softer, smoother texture, peeling them is best. However, leaving the skin on adds fiber, a slight chewiness, and a more rustic feel. It’s a healthier option but can change the overall texture slightly.
3. Can I add other fruits to my microwave baked apples?
Yes, you can add fruits like pears, peaches, or even berries to enhance the flavor. Just keep in mind that different fruits have varying moisture content, so you may need to adjust the cooking time slightly. Mixing them with apples adds extra sweetness and a variety of textures.
4. How can I make my microwave baked apples healthier?
To make microwave baked apples healthier, reduce the amount of sugar or substitute it with natural sweeteners like honey or maple syrup. You can also add nuts, seeds, or oats for added crunch and fiber. This turns a simple dessert into a nutritious, filling option without sacrificing taste.
5. Can I make microwave baked apples in advance?
Yes, you can prepare microwave baked apples in advance and store them in an airtight container in the refrigerator. When you’re ready to enjoy them, simply reheat in the microwave for a few minutes. For the best texture, eat them soon after reheating to maintain their softness and flavor.
Conclusion:
In conclusion, microwave-baked apples have proven to be a quick, comforting, and customizable dessert that fits seamlessly into busy lifestyles. With minimal ingredients and preparation, it provides a healthy and satisfying treat. Whether you’re craving a warm dessert after a hectic day or a simple snack, this easy recipe delivers on taste, comfort, and convenience.
The best part is that it’s versatile and can be easily adapted to suit different flavor preferences. Plus, it’s a great option for portion control, ensuring you enjoy a delicious yet guilt-free dessert. With just a few simple steps, you can enjoy a homemade treat in no time!